My Resene Upcycling Award entry
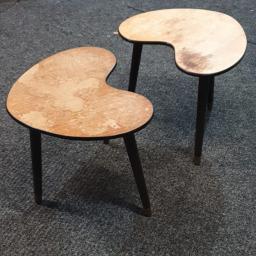
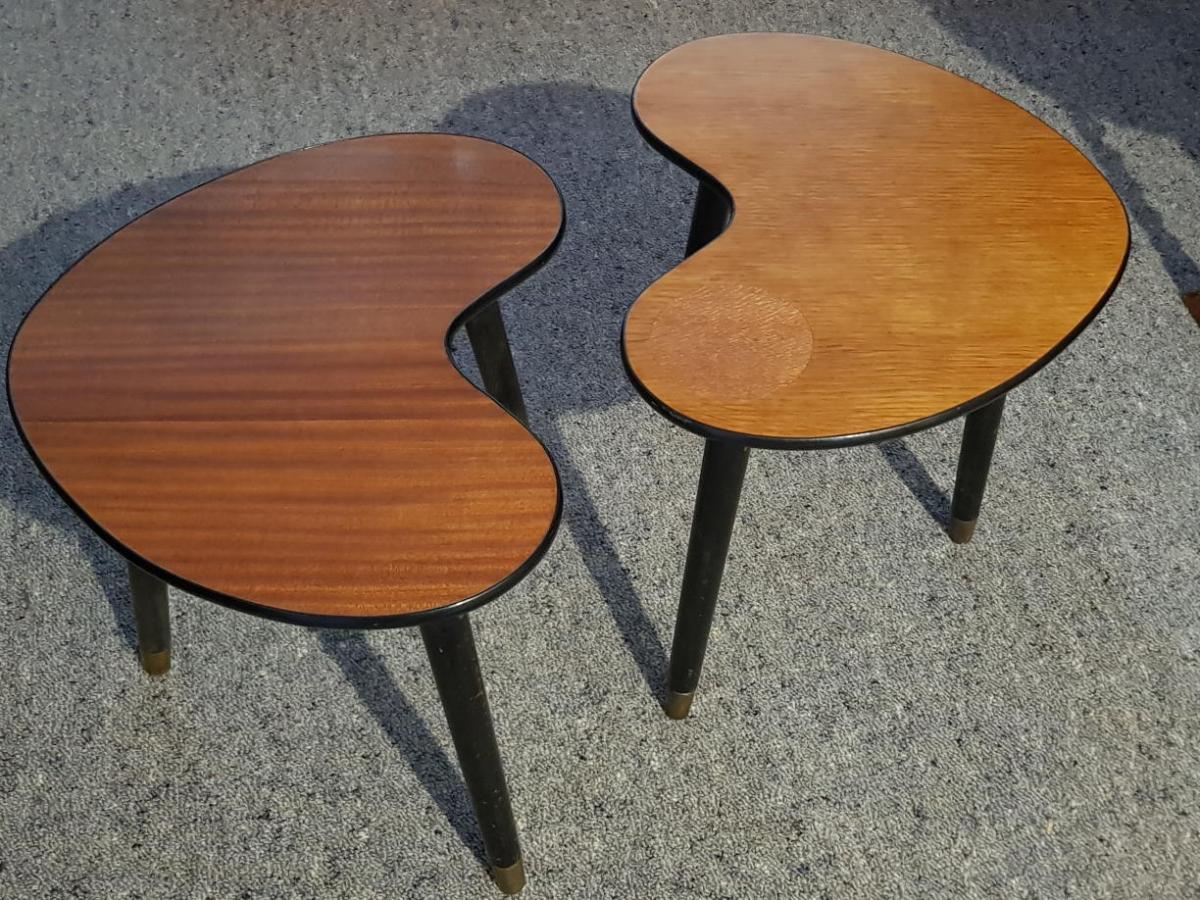
As a commission for a Neighbourly member, I restored two scruffy-looking little tables into lovely side tables, one in mahogany veneer and the other in oak veneer.
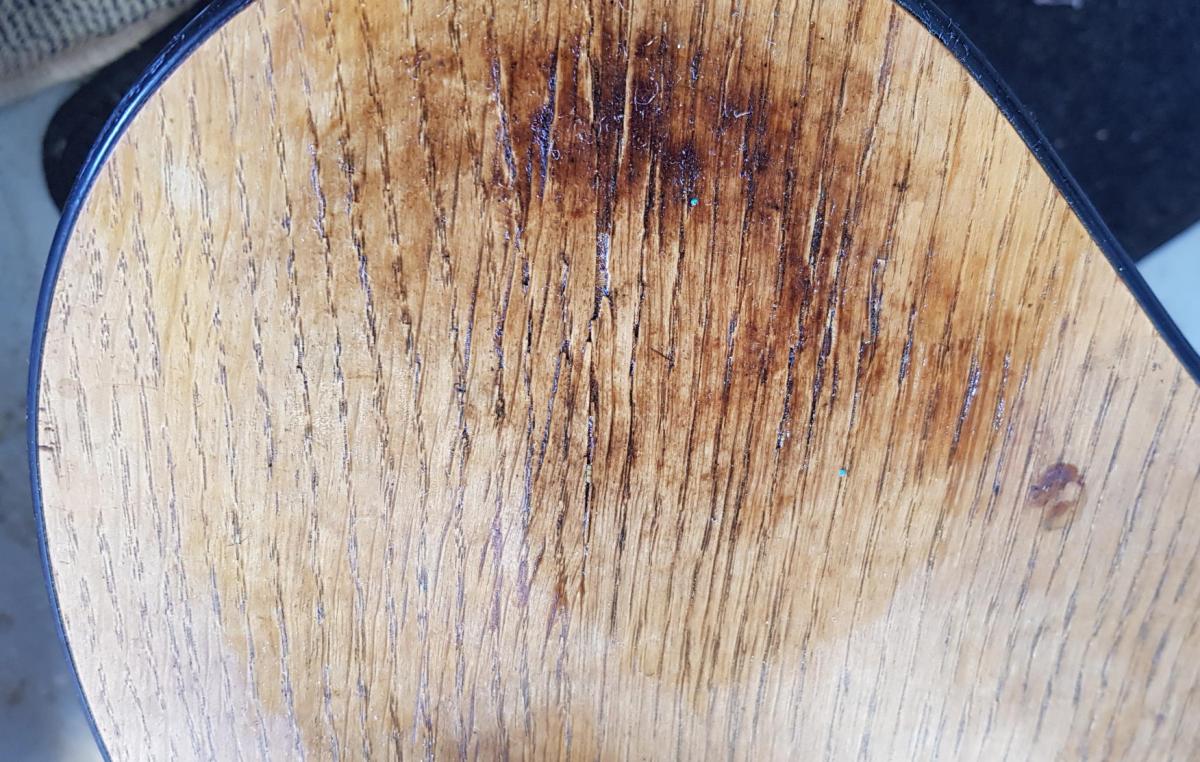
The mahogany table simply needed some light sanding with grits 120 and 240.
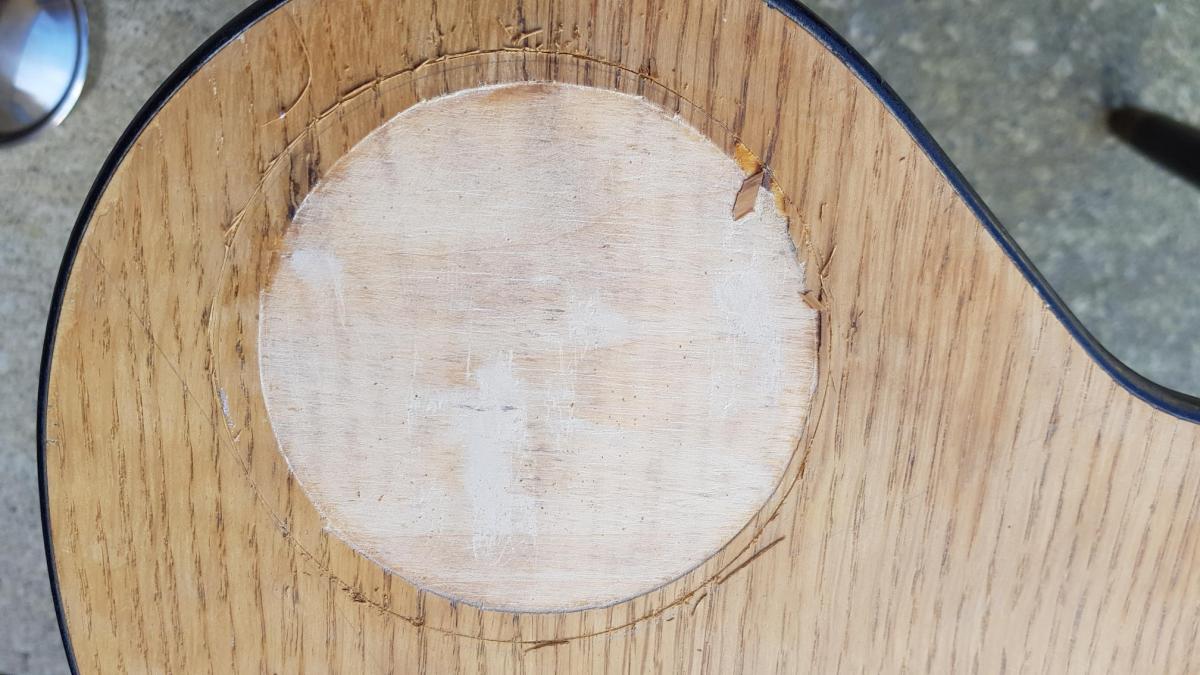
The veneer on the oak table, however, was very damaged and could not be repaired, despite several attempts at cleaning, sanding, re-gluing, and patching with wood filler. I then had the idea to remove the damaged area completely and inlay a circle of veneer of a different wood. It was my first time working with veneer and I am very proud of the result.
- Cutting the hole and the inlay to the same shape and size was tricky and required precision.
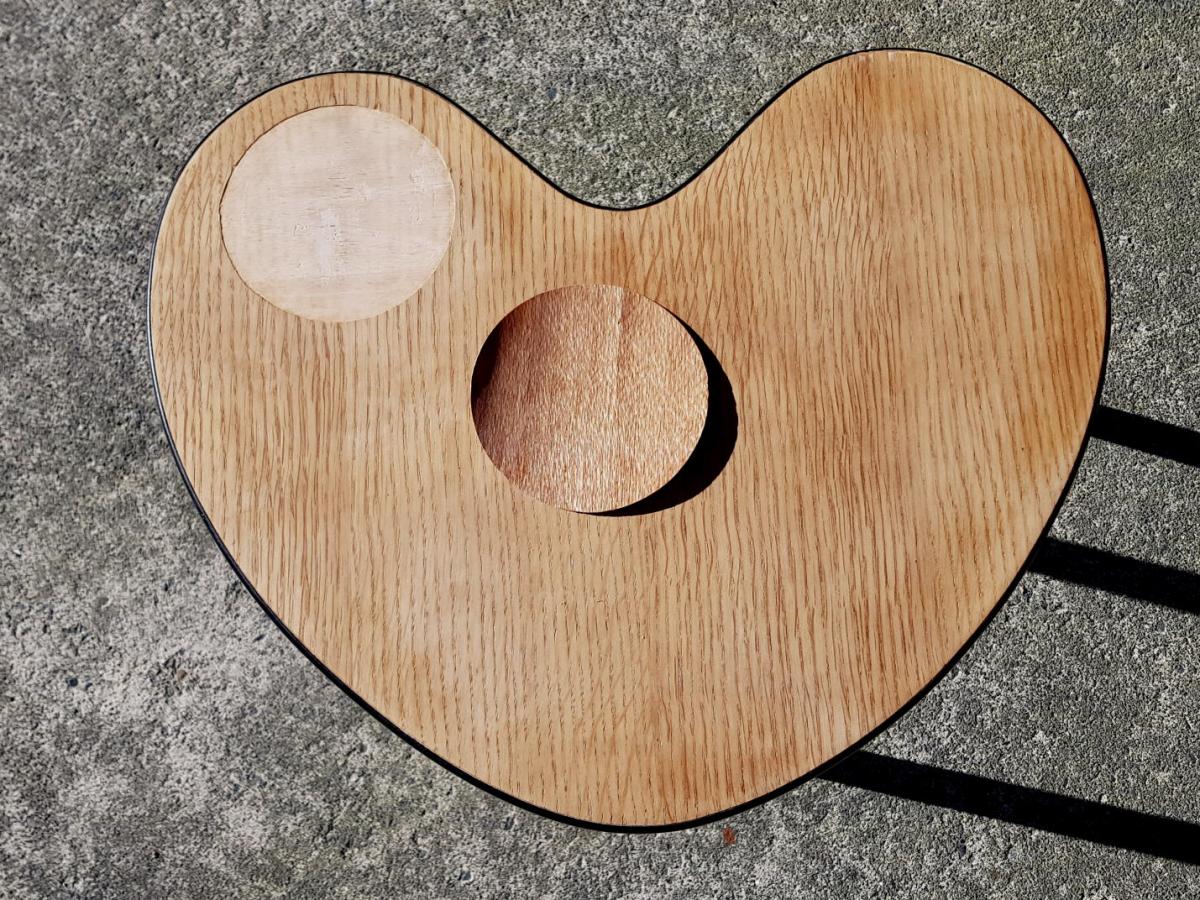
- After gluing and clamping overnight, the new veneer turned out to be thicker than the old surrounding one, and needed to be sanded down to the same level.
- On that same table, I also used some stain to even out the colour in spots where the old veneer was patchy.
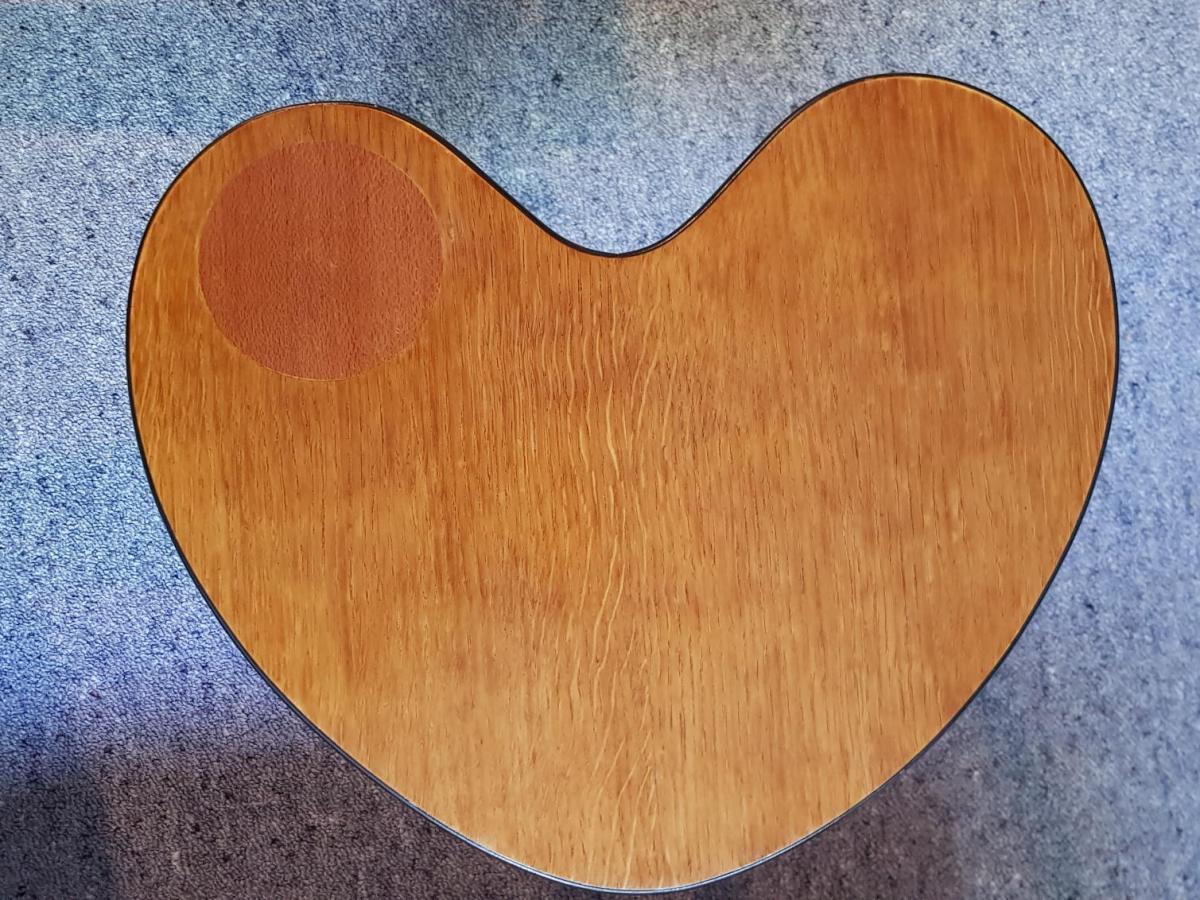
Both tables were then finished with several thin coats of polyurethane, to give them a durable finish.
The result was well worth the effort. Check out for yourself!


Poll: Is it ok to regift something that you have been given?
🎁 Holiday Gift Chat!
Do you ever regift?
What’s your take on asking for a receipt if a gift doesn’t fit?

-
79.5% Yes! It's better to regift what I don't need
-
20.5% No. It's the thought and effort that matters
Today’s Mind-Bender is the Last of the Year! Can You Guess It Before Everyone Else? 🌟🎁🌲
I dance in the sky with green and gold, a spectacle few are lucky to behold; I’m best seen in the south, a celestial sight—what am I, lighting up the New Zealand night?
Do you think you know the answer? Simply 'Like' this post and we'll post the answer in the comments below at 2pm on the day!
Want to stop seeing these in your newsfeed? No worries! Simply head here and click once on the Following button.

Create a Stunning Stain Feature Wall with Resene Colorwood
Transform your living room into a work of art with Resene Colorwood wood stains. Find out how to create your own stain feature wall with these easy step by step instructions.

 Loading…